

In this blog we will learn about using Amazon RDS connector in Mule 4 and how to create DB instance on Amazon RDS and then we will explore the Amazon RDS connector i.e. Configuration, Operation, sing it and how to connect DB instance that we have create on Amazon RDS console even we can use create DB operation of RDS connector to create DB intance on AWS RDS.
Amazon Relational Database Service (Amazon RDS) is a web service that makes it easier to set up, operate, and scale a relational database in the AWS Cloud. It provides cost-efficient, resizable capacity for an industry-standard relational database and manages common database administration tasks. Amazon RDS supports Amazon Aurora, MySQL, MariaDB, Oracle, SQL Server, and PostgreSQL database engines.
Anypoint Connector for Amazon RDS (Amazon RDS Connector) provides connectivity to the Amazon Relational Database Service (Amazon RDS) API[PF4] . Amazon RDS Connector enables you to interface with Amazon RDS, which provides cost-efficient and resizable capacity and automation of time-consuming administation tasks such as hardware provisioning, database setup, patching, and backups. Amazon RDS supports Amazon Aurora, MySQL, MariaDB, Oracle, SQL Server, and PostgreSQL database engines.
So lets start →
To use the Amazon RDS Connector, you must have the following:
Step 1: Access to Amazon Web Services – RDS
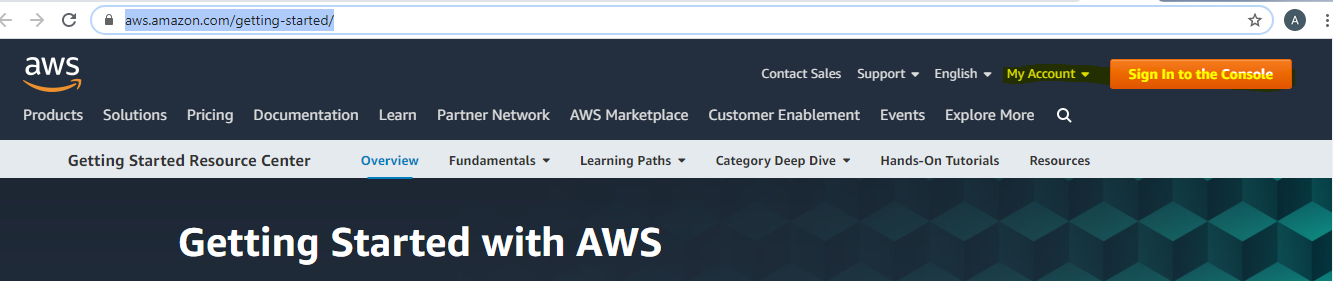
- First, create account on https://aws.amazon.com/getting-started/
B.) Then AWS Identity and Access Management (IAM) user account credentials to access AWS with the connector
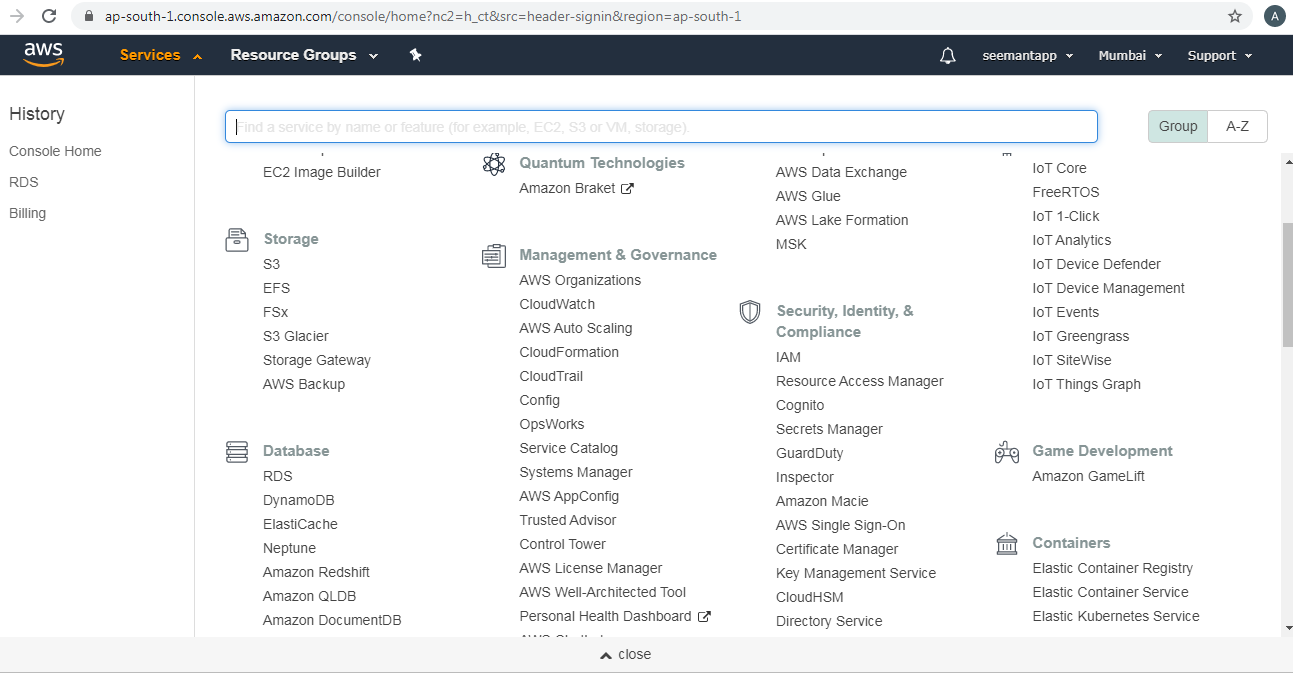
Step 2: Sign in to the AWS Management Console and open the Amazon RDS console at https://console.aws.amazon.com/rds/
Step 3: In the upper-right corner of the Amazon RDS console, choose the AWS Region in which you want to create the DB instance.

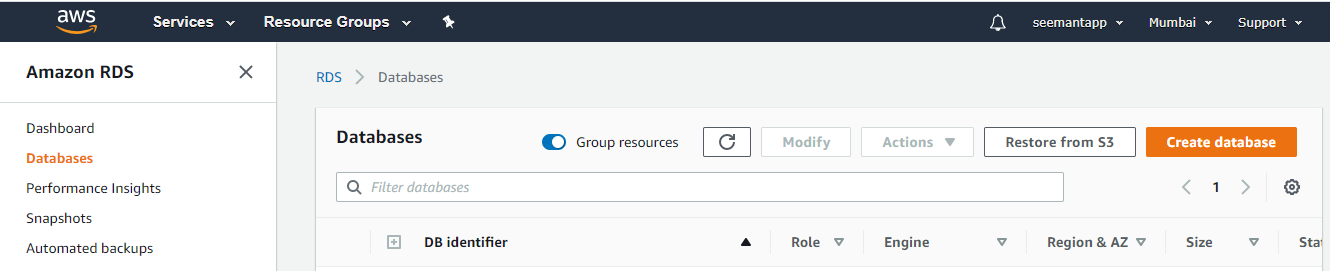
Step 4: In the navigation pane, choose Databases.
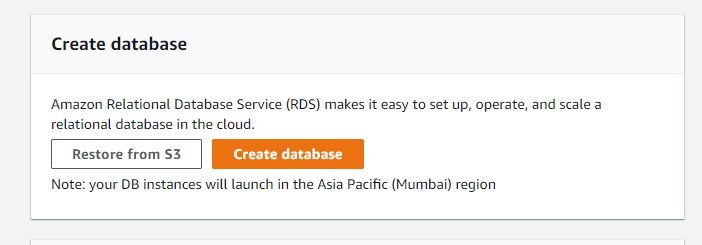
Step 5: Choose Create database and make sure that Easy Create is chosen.
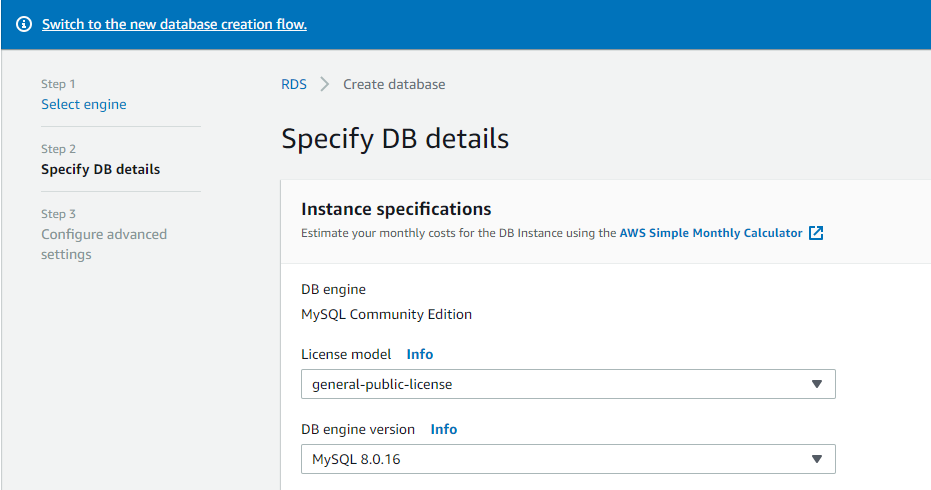
Step 6: After that Select engine, I am selecting MySQL.

Step 7: Select checkbox with text Free usage tier and hit next.

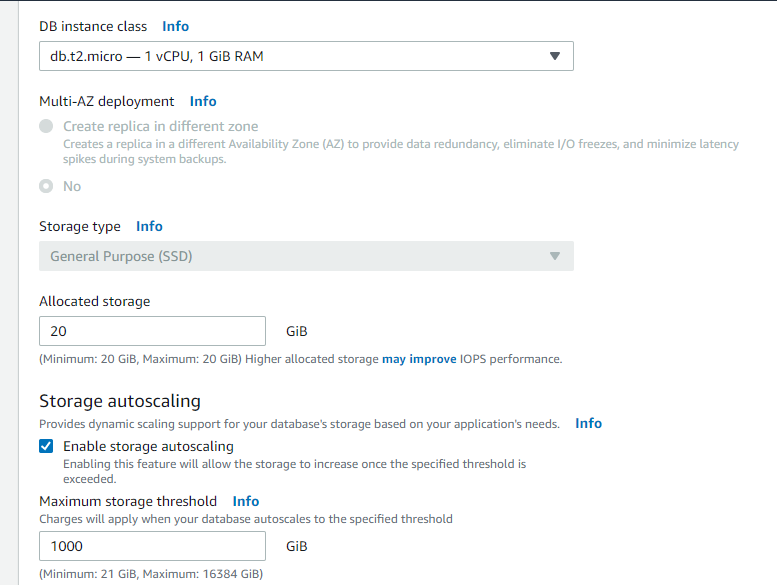
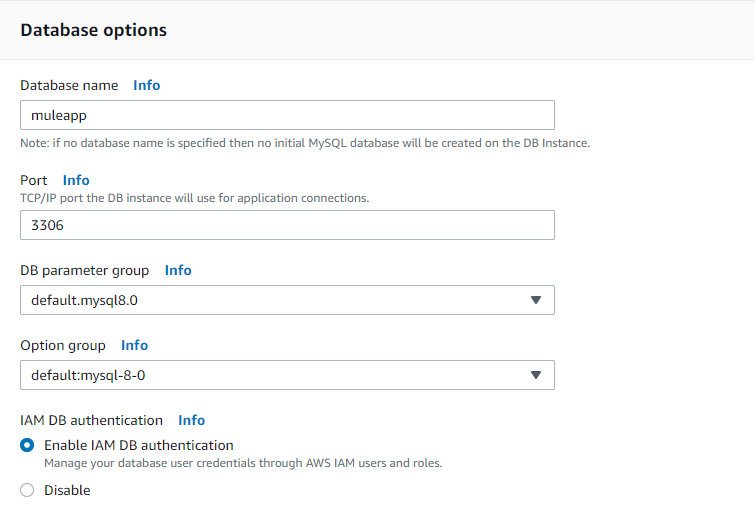
Step 8: Specify DB details as required.
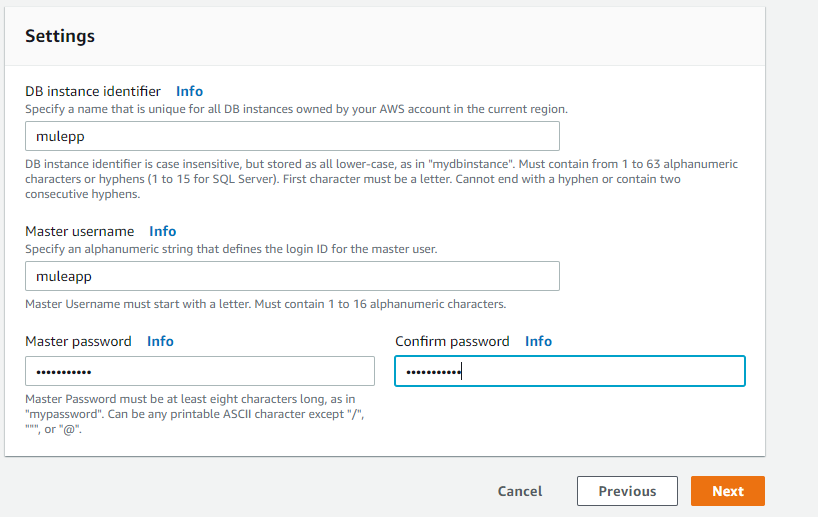
Step 9: Provide a name for the Instance, security password and hit/click next.
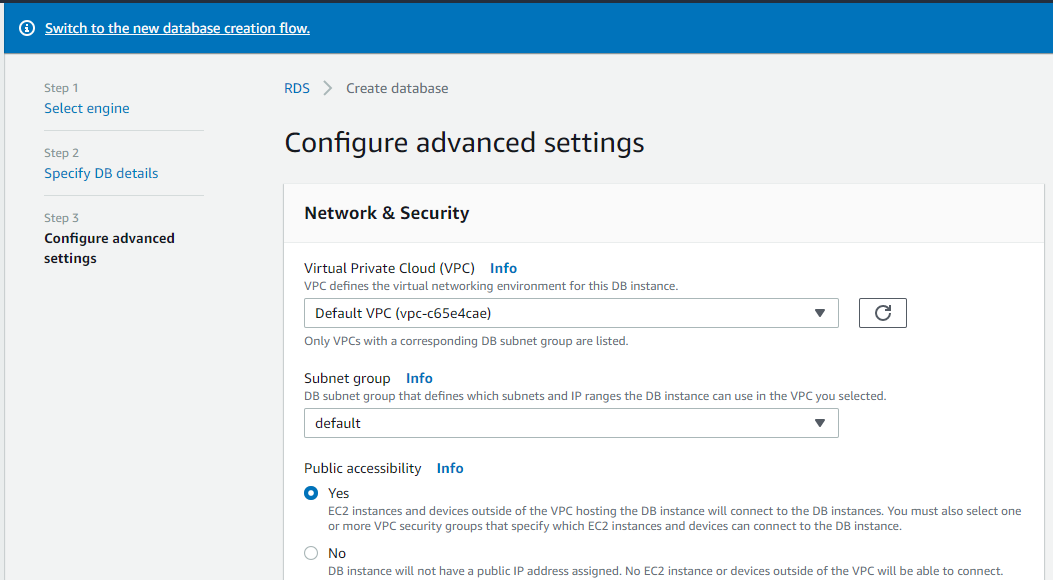
Step 10: Some more advance settings let them default and Create database.
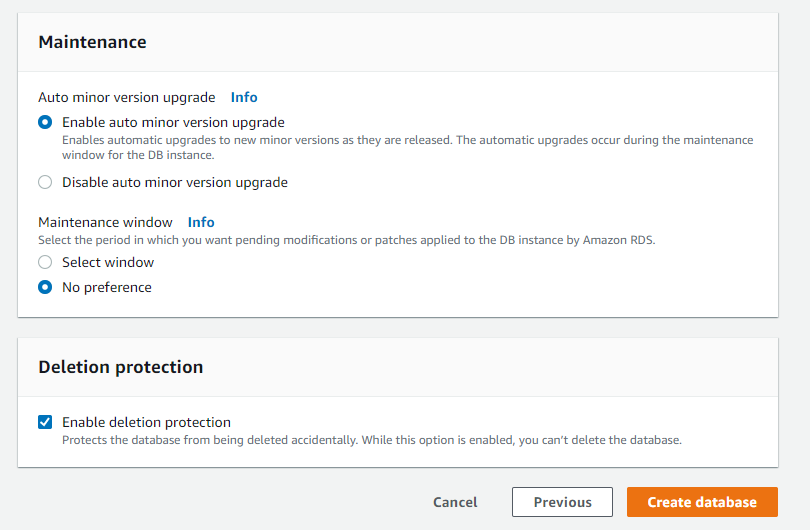
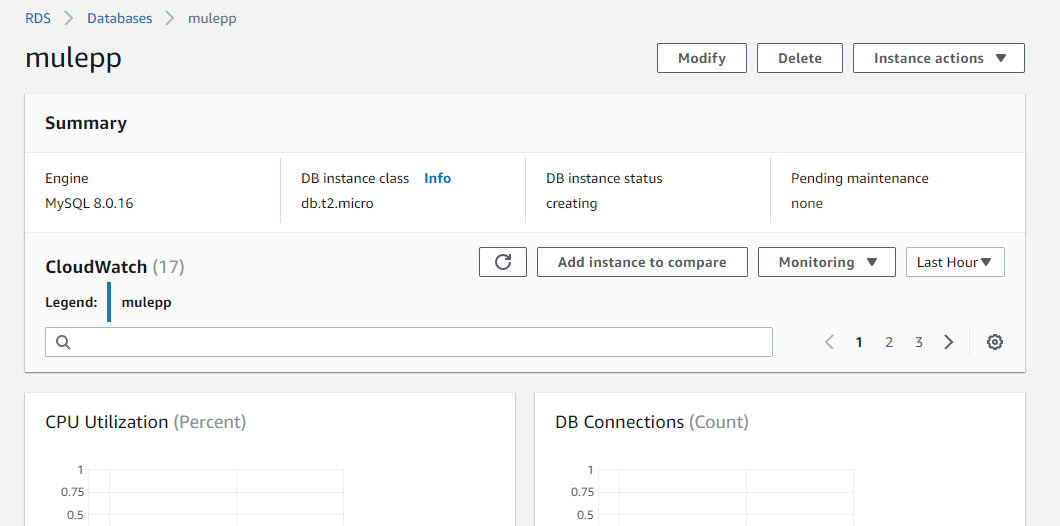
Step 10: Aa ha! Our DB instance created and ready to use.
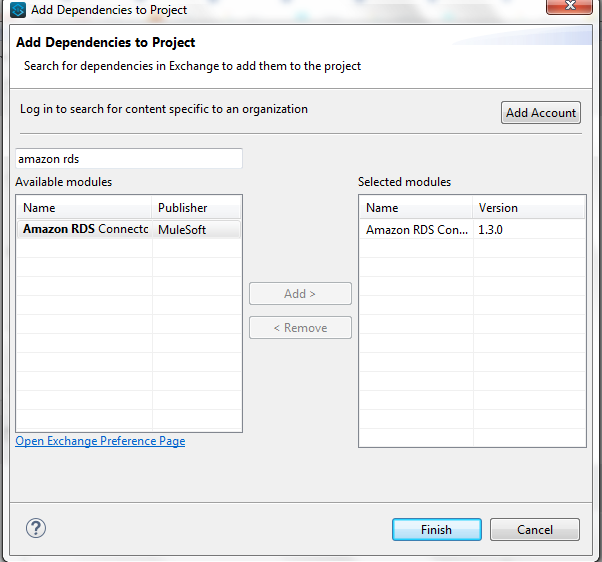
Step 11: Now let’s comes to our Arena Anypoint Studio version 7.1 or higher, or access to Anypoint Design Centre and Install Amazon RDS connector from exchange.
Step 12: Configure the Connector Global Element
To use Amazon RDS Connector in your Mule application, configure a global Amazon RDS element that all the Amazon RDS connectors in your project can use.
A.) Click the Global Elements tab at the bottom of the canvas.
B.) On the Global Configuration Elements screen, click Create.
The following window displays
C.) In the Choose Global Type wizard, expand Connector Configuration, select Amazon RDS Configuration, and click Ok.
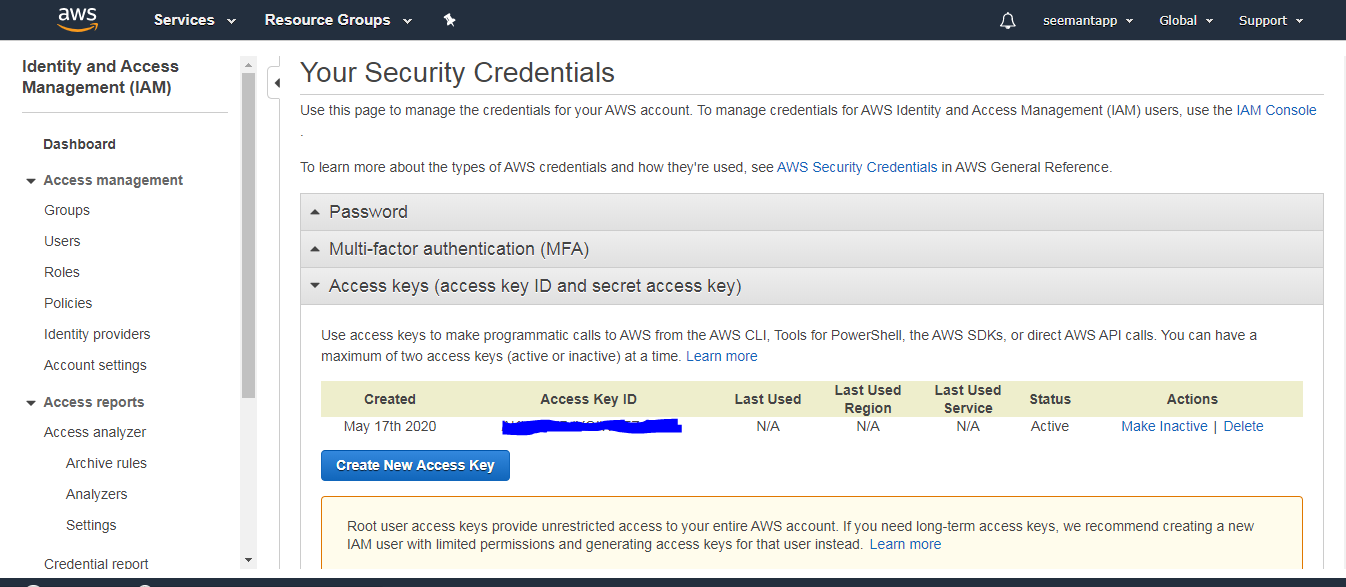
Access key and Secret key you will at
https://console.aws.amazon.com/iam
In Any point Studio The following window displays:
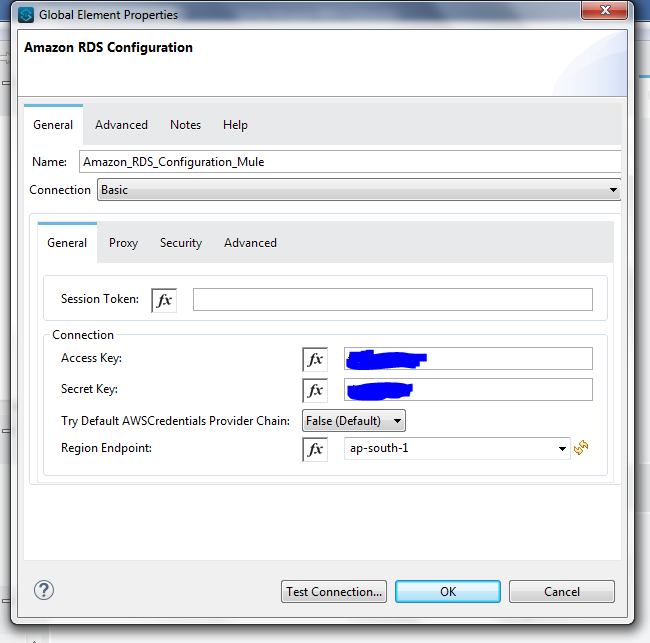
Step 13: Now Configure the above parametre as follows à.
| Parameter | Description |
|---|---|
| Name | Enter a name for the configuration for the connector to reference. |
| Session Token | Enter the session token provided by AWS Security Token Service (STS). |
| Access Key | Enter an alphanumeric text string that uniquely identifies the user who owns the account. |
| Secret Key | Enter the key that is used as a password. |
| Try Default AWS Credentials Provider Chain | Select the checkbox to use temporary credentials. |
| Region Endpoint | Select the region to use for the Amazon RDS client. When you do not select a region, it defaults to ‘us-east-1’. In our case its ap-south-1. |
Step14: On the Advanced tab, keep the Reconnection strategy default entries and click Test Connection to confirm that the parameters of your global configuration are accurate, and that Mule can successfully connect to Amazon RDS.
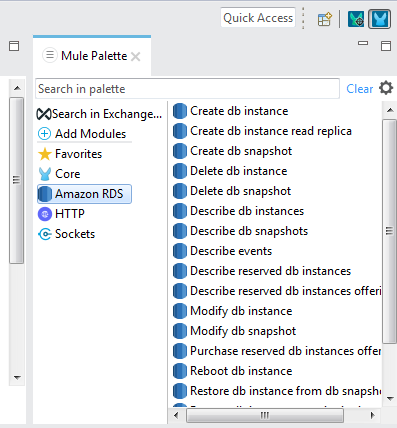
Amazon RDS connector supports the following operations:
DB Instances
- CreateDBInstance
- CreateDBInstanceReadReplica
- DeleteDBInstance
- DescribeDBInstances
- ModifyDBInstance
- RebootDBInstance
- RestoreDBInstanceFromDBSnapshot
- RestoreDBInstanceToPointInTime
- StartDBInstance
- StopDBInstance
DB Snapshots
- CreateDBSnapshot
- DeleteDBSnapshot
- DescribeDBSnapshots
- ModifyDBSnapshot
Events
- DescribeEvents
Reserved DB Instances
- DescribeReservedDBInstances
- DescribeReservedDBInstancesOfferings
- PurchaseReservedDBInstancesOffering
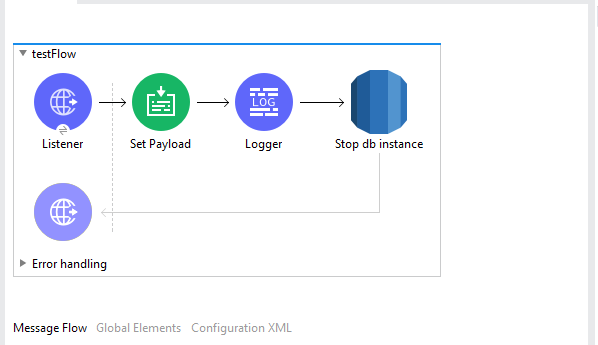
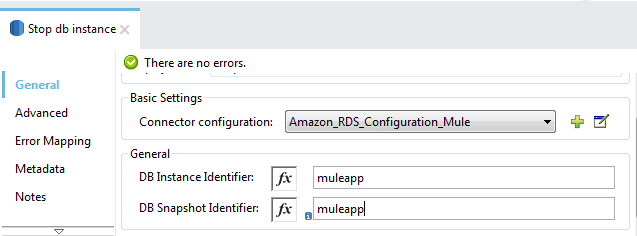
Step15: Now we will use one StopDBInstance operation to stop the DB instance that we have created, we can use all above operation as per requirement. I have created a basic POC to showcase AWS RDS connector operation StopDBInstance. Configure the Stop DB connector as below and Run the Mule flow.
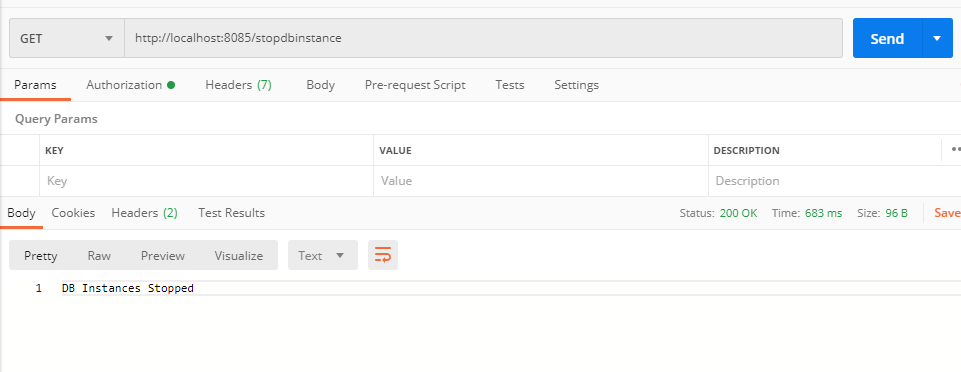
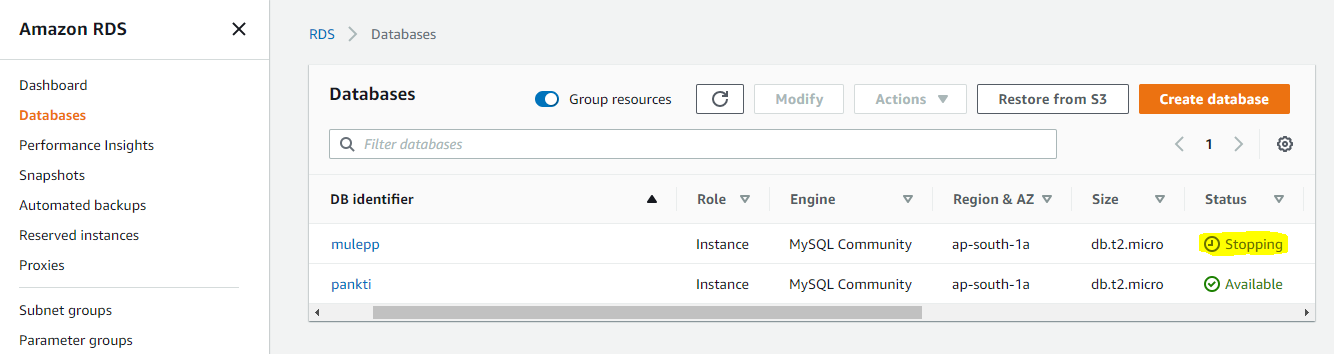
Step 16: Now Our app is running and test it from Postman, and we can see RDS StopDBInstanc executed successfully, we can also check on Amazon RDS console
Muleapp database being stopping.
Postman
Amazon RDS Console
This completes the demo on Amazon RDS connector Operations.